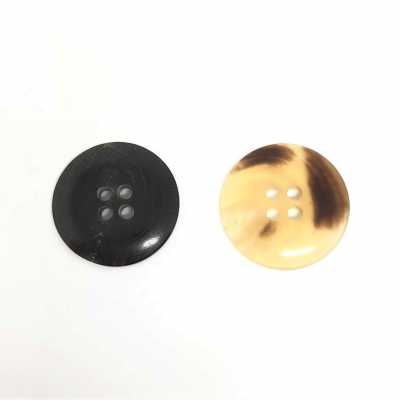
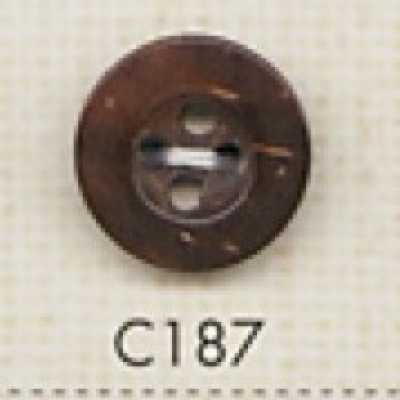
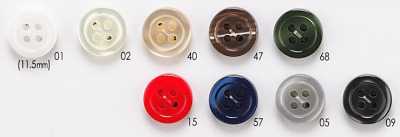
Cross Buttoning / Parallel Buttoning
Cross buttoning / parallel buttoning are methods of sewing two-hole or four-hole buttons by arranging the sewing thread through the holes in either a crossed pattern or a parallel pattern.

Contents6 sections
Definition and Overview
Cross buttoning is a button-sewing method in which the thread spanning the buttonholes is crossed to create an X-shaped stitch pattern on the surface. Parallel buttoning finishes with the threads aligned in the same direction, creating parallel stitch lines. In both cases, the specification is intended to preserve button function while improving the appearance of the surface.
On two-hole buttons, the impression changes depending on whether the thread is run in one direction or crossed; on four-hole buttons, typical patterns are cross buttoning that connects the diagonals and parallel buttoning that connects the upper and lower holes or the left and right holes. The thread color may be blended into the button or fabric, or used decoratively as a design feature through color contrast.
Relationship Between Hole and Shank Shapes
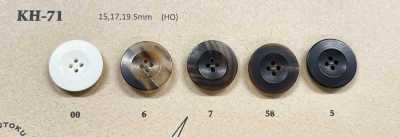
Cross buttoning and parallel buttoning are used for two-hole buttons, four-hole buttons, and other buttons with thread holes on the surface. The direction of the stitches and the number of passes are determined by the position, number, and spacing of the holes. On shapes such as cat's-eye buttons, where there is a groove between the holes, the thread settles into the groove, giving a neat finish.
Shank buttons, tunnel shanks, and ring shanks are attached by passing the thread through the shank on the back, so they are distinguished from methods that create cross or parallel stitches on surface holes. When attaching hole buttons to heavy fabric, a shank wrap is performed as needed to provide suitable clearance between the button and the fabric.
- Two-hole buttons: aligning the stitch direction is the common method.
- Four-hole buttons: in addition to cross and parallel, the stitch direction is specified according to the application.
- Shank buttons: rather than the surface stitch pattern, check the durability of the shank and the finish at the base.
How Sizes Are Expressed
The size of a button is shown by its diameter in mm, and it may also be expressed in lignes. Lignes are a unit used for button sizes; in purchase orders and specifications, buttons are identified using either lignes notation, mm notation, or both.
Cross buttoning and parallel buttoning are not sizes themselves, but button attachment specifications. Even for the same size, the suitable thread thickness and number of stitching passes vary depending on the number of holes, hole diameter, thickness, and material. In specifications, stating the thread color, attachment method, and whether or not a shank wrap is used together with the button dimensions helps prevent misunderstandings.
Main Applications and How to Choose the Specification
Cross buttoning makes the stitches more visible and is used for shirts, blouses, cardigans, children's clothing, and other items where a decorative or casual look is desired. Parallel buttoning tends to give a neat impression and is adopted for a wide range of items such as shirts, jackets, pants, and skirts.
Which is more suitable depends on the hole layout of the button, the part of the garment such as a front placket or cuff, and the overall design of the product. Within the same product, it is important to keep the direction of the visible button stitches consistent. For patterned or glossy buttons, confirm on the actual item how the stitch direction affects the appearance.
Attaching Method and Handling Precautions
When sewing on buttons, do not cause the fabric to pucker, and adjust the tension so the button does not wobble. When attaching hole buttons to heavy fabric or overlapping parts of a front placket, ensure enough space for the buttonhole by using a shank wrap. Excessive tightening can cause fabric wrinkles, thread breakage, and stress on the button.
Resistance to washing, dry cleaning, and ironing depends not only on the attachment method, but also on the button material, coating or plating, sewing thread, and the combination with the fabric. Shell, natural materials, and glass may break from impact, and heat-sensitive resin may deform or discolor if it comes into direct contact with an iron. Check the product label and the attached care conditions.
- Before and after washing, check for loosened thread, cracks, chips, and discoloration.
- Confirm whether dry-cleaning compatibility is acceptable, including the button material and finish.
- Avoid direct high-heat contact by keeping the iron away from the button or using a pressing cloth.
- Even when using a button-sewing machine, inspect the stitch direction and attachment strength.
Frequently Asked Questions
Is there a difference in strength between cross buttoning and parallel buttoning?
Strength is not determined by stitch shape alone. Check the button material, hole shape, thread type and thickness, number of stitching passes, shank wrap, fabric thickness, and sewing conditions in combination. Normally, the choice is based on the appearance of the design, and the button attachment strength is confirmed according to the application.
How do you specify the stitch direction for a four-hole button?
State cross buttoning or parallel buttoning in the specification, and for parallel buttoning also specify whether the stitch direction is vertical or horizontal. It is reliable to confirm this with a physical sample, including the button pattern or logo orientation, the direction of the front placket, and the left-right appearance.
Is a shank wrap always necessary for hole buttons?
No, it is not always necessary. Small hole buttons attached to thin fabric may be sewn without a shank wrap. On the other hand, when the buttonhole area has thickness on heavy fabric, front plackets, jackets, and similar items, a shank wrap may be used to create the required gap between the button and the fabric.